Do you love to have a fresh wreath hanging in your house or on your door?
They are beautiful.
They smell so good.
The are Inexpensive.
How about we spruce it up a bit.
This year we wanted to share something a little more fun.
This Blog post is from our friend over at http://someoneinmind.blogspot.com/
Erin is a long-time blogger who loves writing about her family, faith, and home.

You should know that I'm not super crafty.
So this is an easy DIY project.
I love The Wood Station
and knew I could find everything I needed there.
Now, that is my kind of Crafting!!!

My List of Supplies was the following:
- Costco Wreath $15.00
- Wood Initial from The Wood Station $7.55
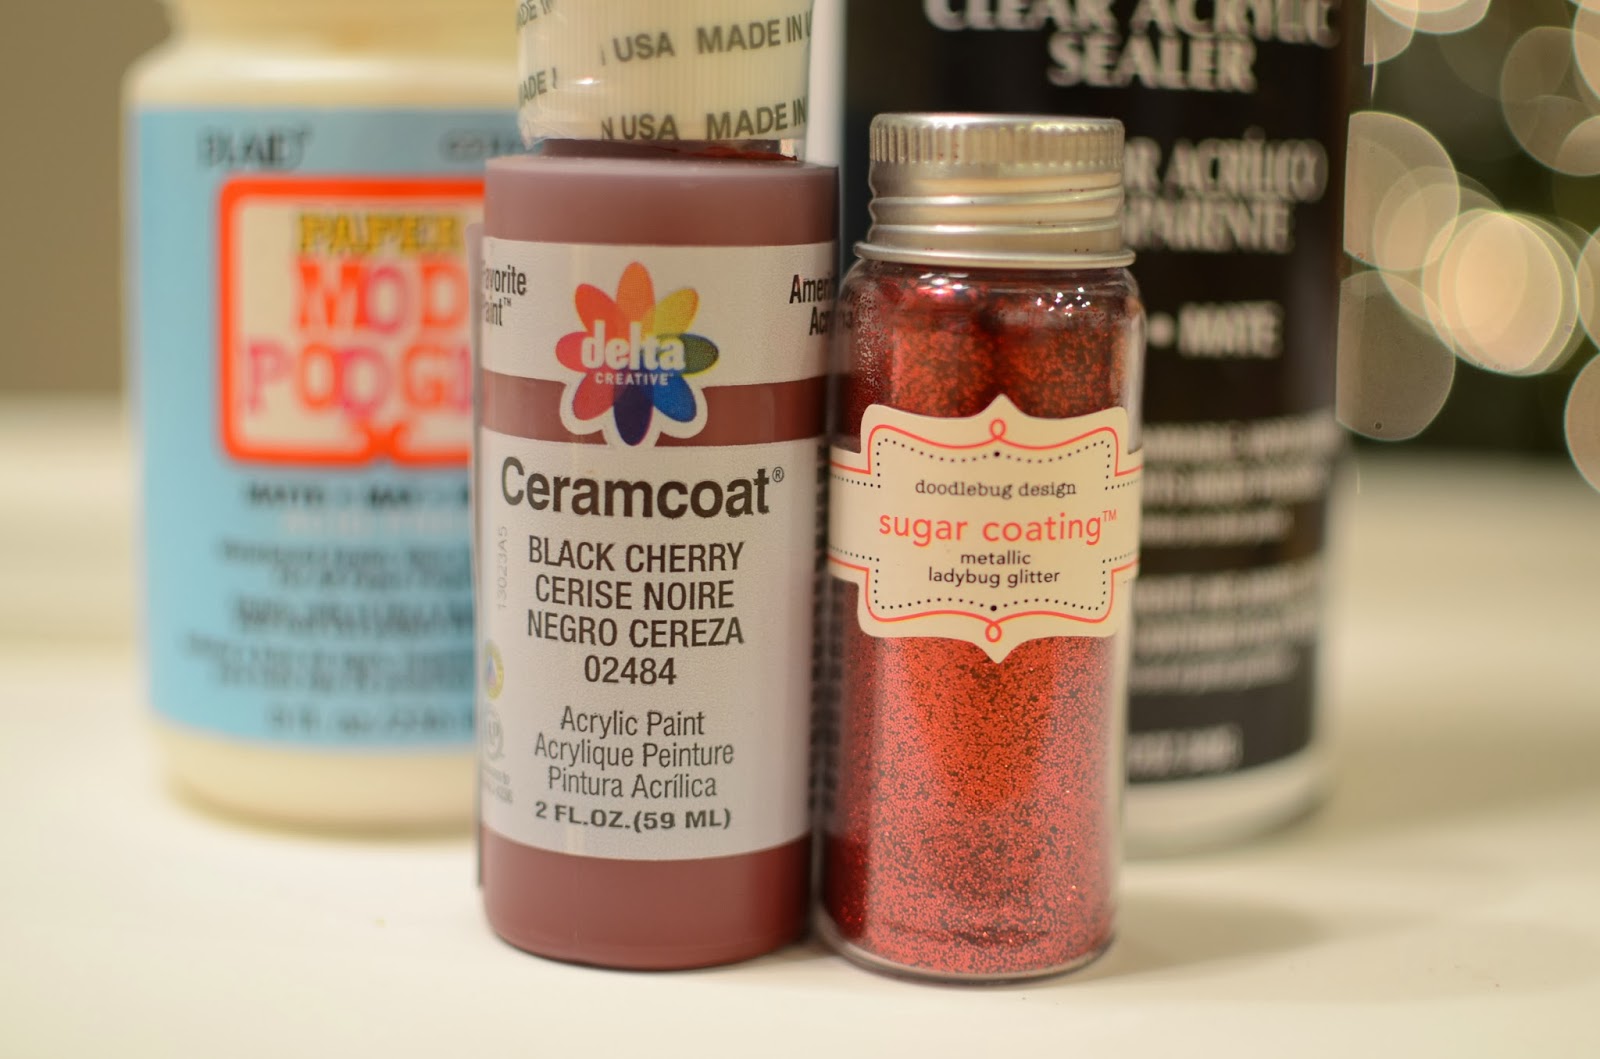
- Glitter from The Wood Station $4.55 (This is one of those items that will last and last!)
- Paint (Already had this on hand or can be purchased at The Wood Station)
- Mod Podge (Already had this on hand or can be purchased at The Wood Station )
- Rustic Bells 2-pack from The Wood Station $1.45
- Ribbon (Odds and Ends I already had but probably about $2.00 or can be purchased at The Wood Station)
- Clear acrylic Sealer (Already had this on hand or can be purchased at The Wood Station )
- Bailing Wire (I love this stuff. I purchased 500 feet for 4.95 at Cal Ranch and it has lasted for years.
- A small screw.


I used my favorite crafty minion (Kate, see below) to paint for me. Ikea kids bowls and a big cookie sheet are the perfect support for minimizing the painting mess. Apply one or two coats of paint on each side and make sure to be careful to smooth any thick edges. I didn't even sand my Letter. It came in a great, smooth condition.

Once the paint was dried we applied Mod Podge to the entire Letter. We did this super fast and I would recommend slowing down a little and taking your time. I only applied it to the top Letter and not to the sides.

You will want to glitter your Letter as soon as the Mod Podge is on because it will dry fast. You can apply the Mod Podge in sections if it is easier because I did miss some spots and you can tell where the glitter isn't as thick.
I poured the entire bottle of glitter on the letter and then wiggled and moved it around. This helps it disperse evenly. I then picked up my letter and shook the remaining glitter and dumped it onto a large piece of paper. It is easy to then bend the paper and put the glitter right back into the bottle. I only used 1/5 of my bottle of glitter doing this large letter. It goes a long way!
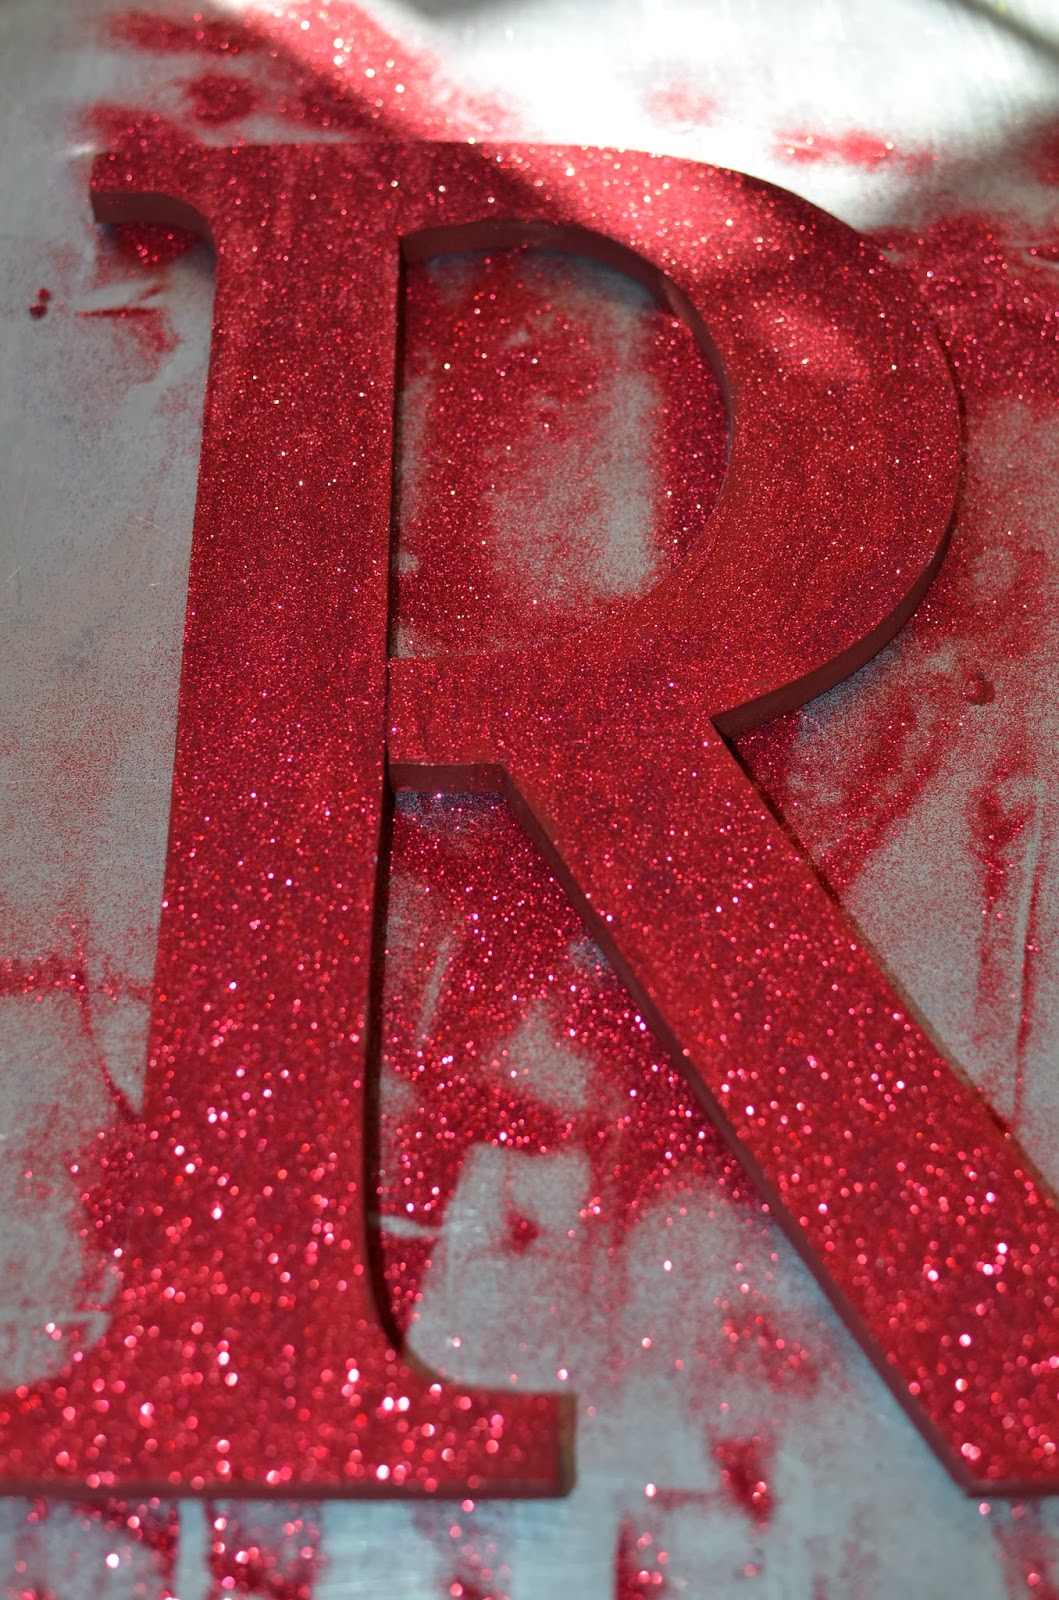
Let your letter dry for 20 minutes or so.
You can start making your bow while it dries.
There are many ways to make a bow and I did mine like this.


After I tied my bow, I attached the bells using some decorative wire, but you can use any kind and I love bailing wire, which is cheap!
I sprayed my Rustic Bells with Sealer first so that the rust wouldn't get all over everywhere. It also darkened the color a bit.

Then I cut up my ribbon into about 7 inch pieces and layered them across the bow.
I then used two pieces of ribbon to tie around the whole bow to keep them together.

I used a wire to attach the bow to the Letter.

I wanted my Initial to hang slanted a little on my wreath.
I put a screw in the base of the letter so that I could use a wire and tie it to the wreath to help it stay slanted. Oh ya, almost done.
Make sure to use your Sealer spray to spray your entire Initial. It gives it a finished look and also helps the glitter to stay in place and not end up on your entry way.

Then I used a burlap ribbon to attach the Letter. This worked great for me because I used an R and a P and both of these allowed me to just tie the bow around the top. You might have to get a little more creative with an W or an X! Maybe use the screw method which I used for my slant.

Now wasn't that easy.
Simple and Easy.
And guess what. I can just take my initial off after Christmas and store it until I buy my next Costco Christmas wreath!
Let me know if you end up making a wreath.
I'd love to see your pictures too!
Email them to someoneinmindblog@gmail.com

Merry Christmas!!!!!!
Tutorial By Erin Peterson


No comments :
Post a Comment