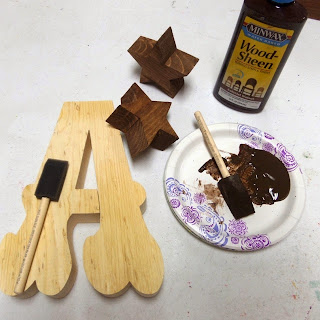
The large USA is one of my favorite projects. I hope this tutorial will assist you in making this fun and patriotic project for your home.
1. Remove plastic wrap around letter set, and dust the wood off with a foam brush.
2. If applying paper to your project, trace your letter onto the paper and cut each out.

3. After paper is traced and cut out, you are ready to apply stain, or paint.
4, After paint or stain are dry, squirt a small amount of wood glue onto a paper plate, and spread a thin coat of glue on each piece of wood.
5. Lay paper onto letter with glue spread on it and use your vinyl applicator, or credit card to push any bubbles or excess glue to the edge of piece of wood. Glue will dry clear if you happen to miss a little.
6. Let wood with paper sit for 10-15 minutes, then, using either a sanding block, or a rolled piece of sand paper, in a downward movement sand excess paper until paper and wood are flush.
7. Once paper and wood are flush you are done. If, you wish to apply a coat of Texturizing Cream, which will seal your paper/wood, making it feel and look like a canvas, and in my opinion, just a more finished look. It seals your paper to where you are safe to hang it on a door that is exposed to the outdoors.
8. Embellish your project however you would like. My example here is with some jute.
9. You are ready to display your project.
Tutorial By
Nancee Peterson
Owner of The Wood Station


No comments :
Post a Comment